

How To Make A Window In Photoshop
How-do-you-do everyone,
In this month's Photoshop Elements tutorial I'thou going to demonstrate a neat pull a fast one on for irresolute the view through a window. There are many means to arroyo this, of grade, this is a particularly versatile method, however. Instead of cutting out the drinking glass areas of the window and putting the new view beneath, we'll employ the window panes equally a clipping mask. If yous're unfamiliar with the concept of clipping masks, information technology's a style of hiding parts of a layer based on the visible areas of the layer below. In this case, just the parts of the new view will be visible where they overlap the window panes, giving the impression that we're seeing the scene behind the window frame. This is often preferable to the usual masking technique, particularly if nosotros want to utilize multiple images to build the blended, where the layers would need to exist below the target layer as we tin can command the visibility without the need to move the layers around in the stack. If we want to see the whole image, we simply unclip it.
All the images for this tutorial come from Morguefile.com. This is a fantastic stock resources, all the images on the site are gratis to use in any mode you see fit. The specific files for this commodity can be downloaded from the TipSquirrel.com locker at the end of the post; all we ask is that you spread the word using the social media outlet of your option!
Let's get started.
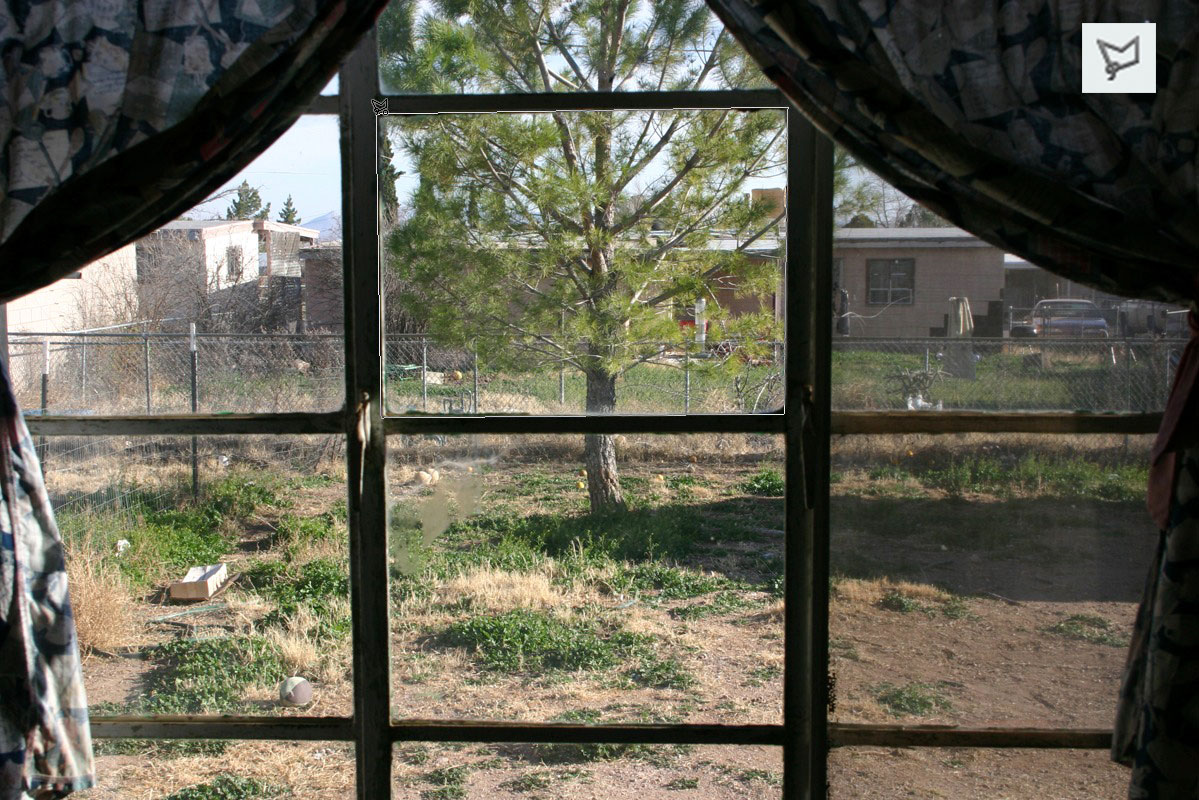
i. Open Window-View.jpg. The starting time matter to do is select the window panes. As the sections are rectangular nosotros can use the Polygonal Lasso tool (shortcut: L). We'll brainstorm with the middle panes as they are whole and the easiest to select. Click once in the top-left corner of the commencement of the two, just within the edge of the frame. Move the cursor to the top-right. Click again. Repeat this to join upward the remaining two sides. The cursor will accept a small circle next to it to denote information technology is at the beginning point.

2. To add the second pane we need to tell Elements to add to the option, otherwise it volition delete the first and replace it with the new one. Hold Shift. A pocket-sized plus sign appears next to the cursor. Now we tin can make the next selection. Click the top-left of the frame equally we did earlier. We can release the Shift central at present, as Elements knows we are adding. Clicking around the 4 sides of the frame to complete the second selection. Repeat this for the small section at the bottom.

3. The remaining panes are a little different as they are partially covered by the curtains. Nosotros could switch to the Quick Selection tool at this signal but we want to keep the edges as straight as possible; the circuitous background and paint on the glass would event in an uneven choice. Instead, we'll carry on with the Polygonal Lasso. Concord Shift once again. Click the bottom-left corner of the height-center pane. Take the cursor over to the bottom-right of the frame, including the minor expanse of the curtain – nosotros can align it past eye with the correct border of the frame beneath. Add together the correct-border were the drape is covering information technology. Now bring in the terminal 2 edges.
4. Add the rest of the panes in same way, selecting the area taken upward with the curtains, apart from the pinnacle-right section, of grade, as that'south all drape. The modest area in the top-left pane is pocket-size enough to simply brand a small triangular option.

5. Now we can remove the curtains from the pick. Switch to the Quick Selection tool (shortcut: A). Brand sure Motorcar-Enhance is checked in the Tool Options panel every bit this gives u.s.a. a better choice. Hold downward Opt (Mac) or Alt (PC). This tells Elements to subtract from the selection; the cross in the eye of the cursor will alter to a minus sign. We'll outset with the curtain in the top left. Click and elevate over the mantle itself. Nosotros only demand to pigment a niggling and the cross-section is removed, giving us a smoothen selection.

6. Exercise the same for the other sections of the window that are obscured with the defunction. We may occasionally have an expanse where the selection jumps off the border, as we tin can see in the summit-right. This is normally due to the department having a low contrast with the background. To fix this make the castor smaller using the left foursquare bracket. Release the Opt/Alt key to return to Add together mode. Paint over the errant area to snap information technology back into place.

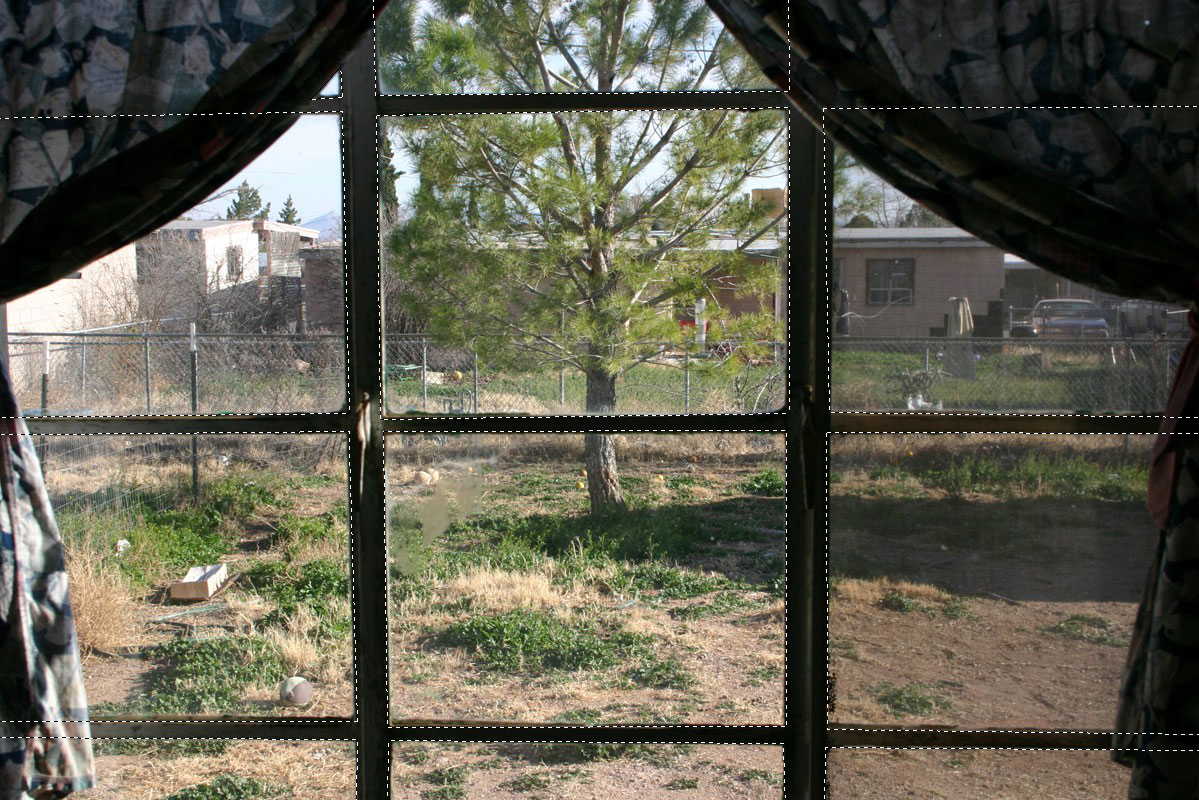
7. The next footstep is to tidy the pick. Get to Select > Refine Edge. Since we only want the choice to create a clipping mask, the best view is Black and White (shortcut: K). We tin see that the edges of the drapery in detail are a trivial ragged. Increment the Smoothness to effectually 10. This takes abroad the rough border. Add a modest amount of feather, around one pixel should practise it. Increase the contrast to around 25%. This tightens upwardly the edge without losing the slight softness needed for a good blend. I've split the screen grab here to show the earlier and after view.
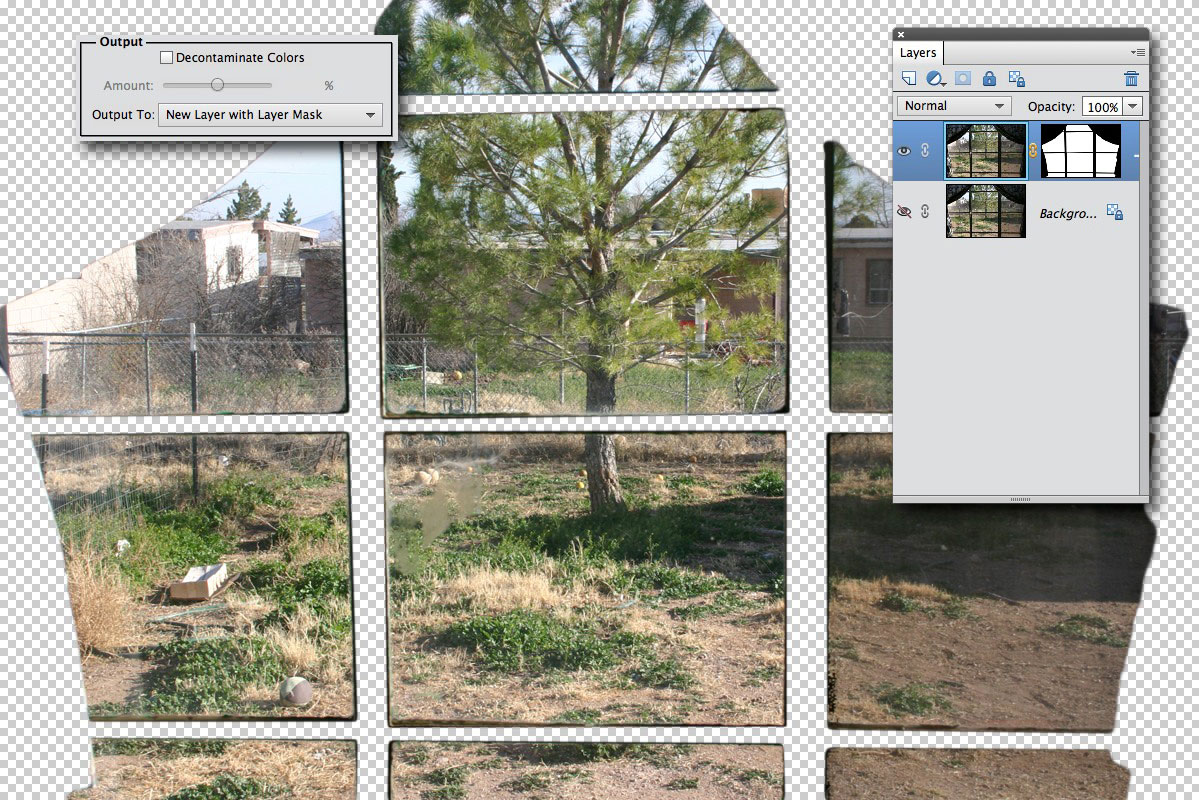
8. Change the output method to New Layer with Layer Mask. This allows us to brand adjustments to the cutout afterwards, should we need to. Click OK. Past default, Elements turns of the original layer's visibility; we can only currently encounter the cutout. We need both layers visible, of grade. Click the original layer's eyeball icon in the Layers console. We can no longer run into any deviation equally the two blend together.
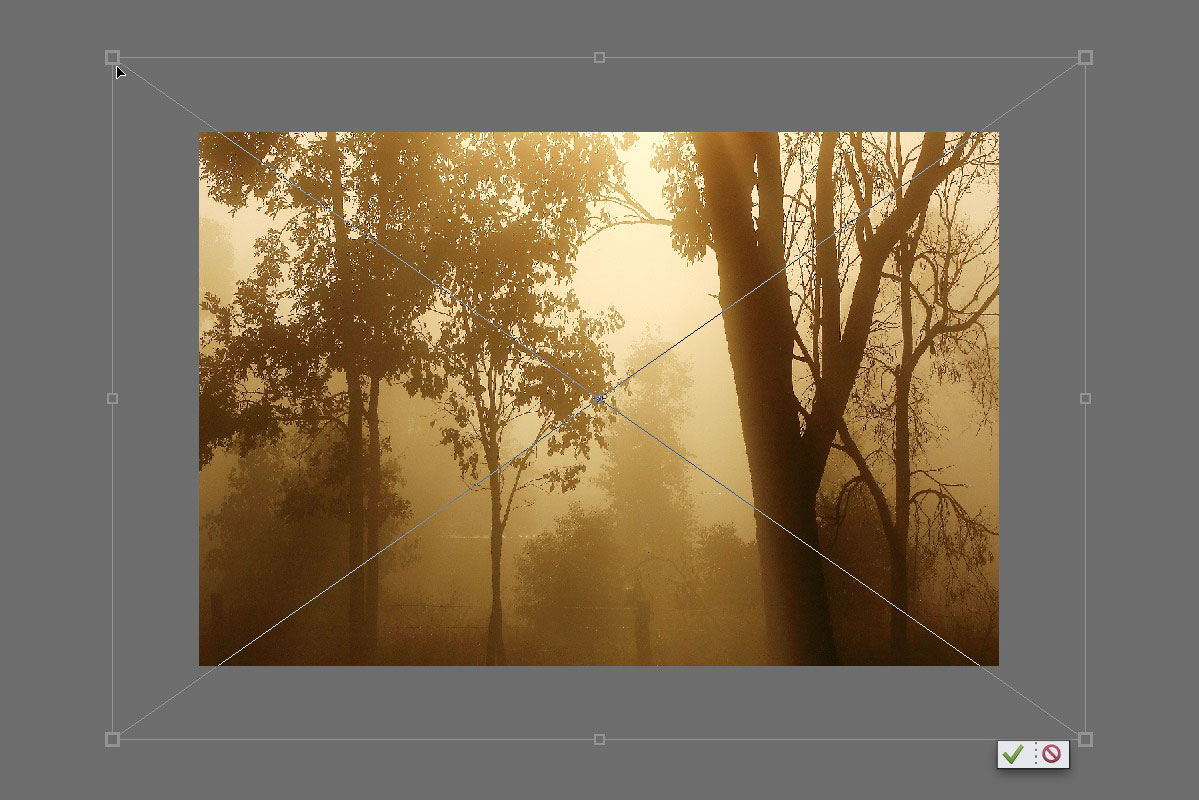
ix. At present to add the new view. Get to File > Place. Select the file Hazy-Forest.jpg from the place yous downloaded information technology to. The Place command automatically sizes the image to fit the certificate. This image is larger than the window epitome, so nosotros can apply the corner handles to scale information technology up a lilliputian to let for any missing overlaps. Make certain Constrain Proportions is checked to keep the dimensions intact. If nosotros hold downwardly Opt / Alt while nosotros change the size, information technology will expand around the center of the image. Press Enter or click the tick to commit the changes.

10. We need our new scene behind the window; this is where our cutout comes into play. Agree Opt/Alt. Hover the cursor between the forest layer and the window mask. The cursor will alter to two overlapping circles. This denotes that we're about to create a clipping group with the 2 layers. We tin also press Cmd+G (Mac) or Ctrl+G (PC). We now see the image appears to be behind the window. It'south non, of form, we are simply seeing the areas of the forest where they coincide with the visible areas of the cutout layer below.

xi. The outcome is OK but information technology doesn't expect like there is any glass in the frames. Become to File > Place once more than. Choose the Room-Interior.jpg file. Scale it up as we did with the wood scene. Press Enter to commit the changes. Create a clipping group as we did in the previous step. Lower the layer'south opacity until the epitome barely visible; effectually 8% here. this creates the illusion of a reflection. It's a very subtle effect but it really helps to make the prototype look more realistic.

12. We're about done. As we've inverse the view outside, nosotros also need to adjust the colour of the window and defunction. Click the background layer in the Layers panel to make it agile. Now become to the Layer menu. Select New Aligning Layer > Photograph Filter. Click OK to have the dialog settings. Nosotros can leave it on the default of Warming (85) as we need to have a warmer temperature. Increment the density to around 60-70%. This gives us a much better overall effect.

And here's the completed image.

The best role of this technique is we tin change the view with ease. All we need to practise is turn off or remove the current view and add together a new 1, clipping it to the cutout as earlier. We're not express to views through windows, of class. The prototype above was created in the same fashion, using the lattice pattern as the clipping mask to allow the photo of the core to show through.
I hope you enjoyed this tutorial and can use information technology to create your own images.
Until next time, accept intendance!
[sociallocker id="17672″]
[/sociallocker]
Source: https://www.tipsquirrel.com/replacing-view-window-clipping-masks-photoshop-elements/
Posted by: walstonlond1985.blogspot.com
0 Response to "How To Make A Window In Photoshop"
Post a Comment